Topic
this post shows how to locally build a Docker image on Windows 10 Home version, push it to an Azure Container Registry, then, deploy it manually to a Web App for containers so as it can be consume.Prerequisites
you must have:- an access to the Azure Portal
- an available Azure Container registry (if not do this quick tutorial to have one)
- Docker Toolbox
On Windows 10 home version you won't be allowed to install Docker desktop by the Docker installation program but it will install Docker Toolbox that is enough to do the main tasks.
Building the docker image locally
If you have a github account fork the following repo and clone it on your computer, if not, download the code:acr-build-helloworld-node
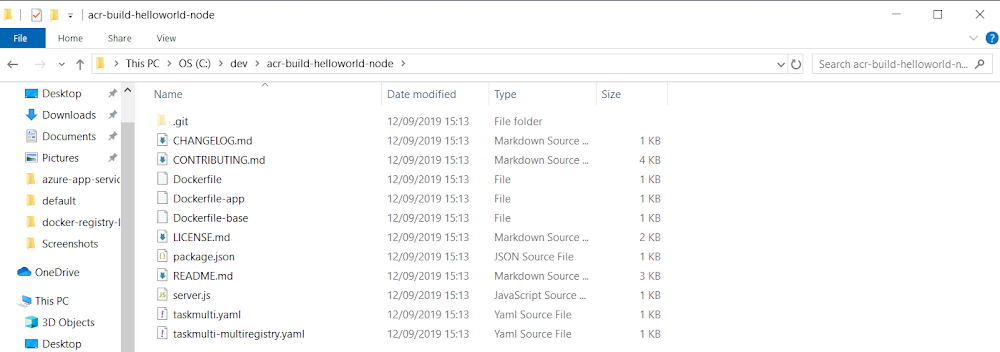
Let's examine the content a bit. First it is a real Node.js application even if it's render only "Hello World". It is a good base for future developments for an API and a good way to test the deployment as a container.

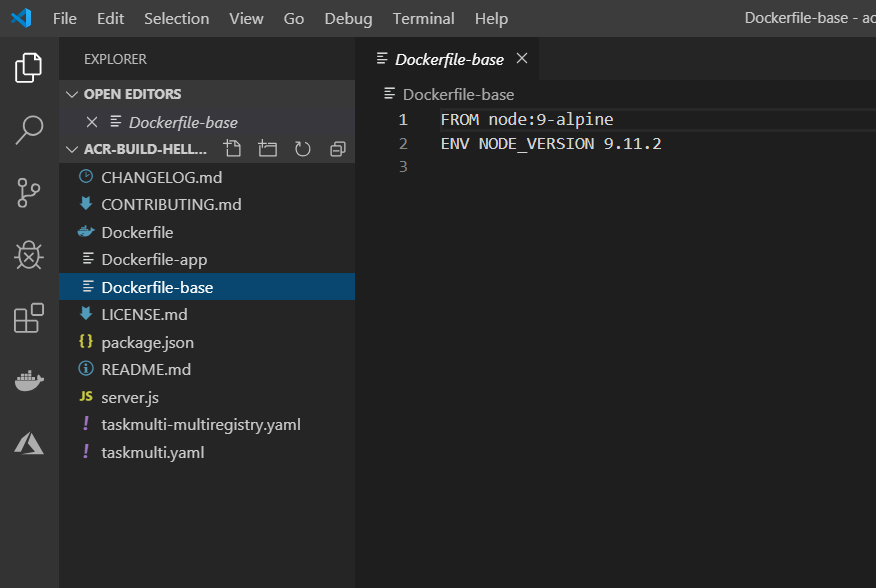
we can see next the files that compose the image. the Dockerfile-base:
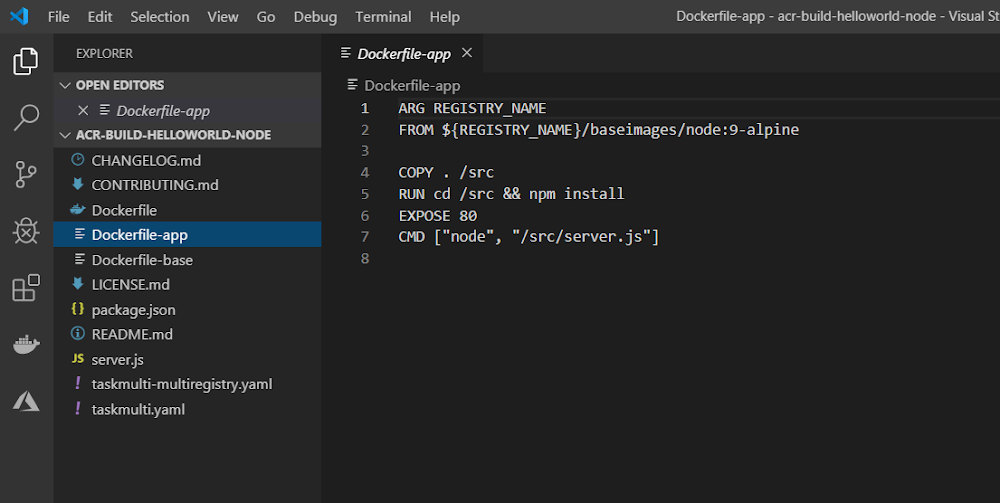
The Dockerfile-app:
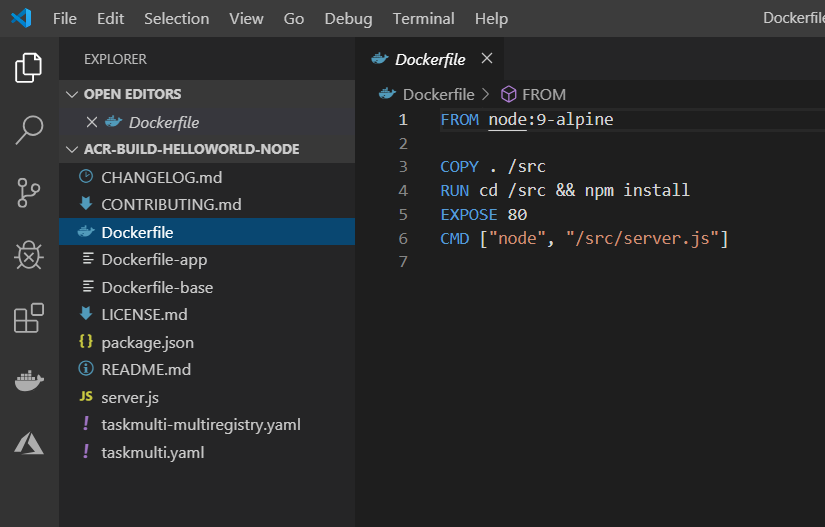
and most of all the Dockerfile, the only file we really need to build locally a docker image. It tells Docker to:
- build a machine based on Linux alpine with Node engine included.
- copy all the files in src folder
- change directory to src folder and perform an NPM install
- and the node excution for the API is dedicated to the file server.js located in the src folder
Now is the time to create the image, so open a command prompt and change directory to the one where is the API code and execute the following:
docker build -t nodeapp .
The image is mounted. We can see docker doing all the jobs described previously:
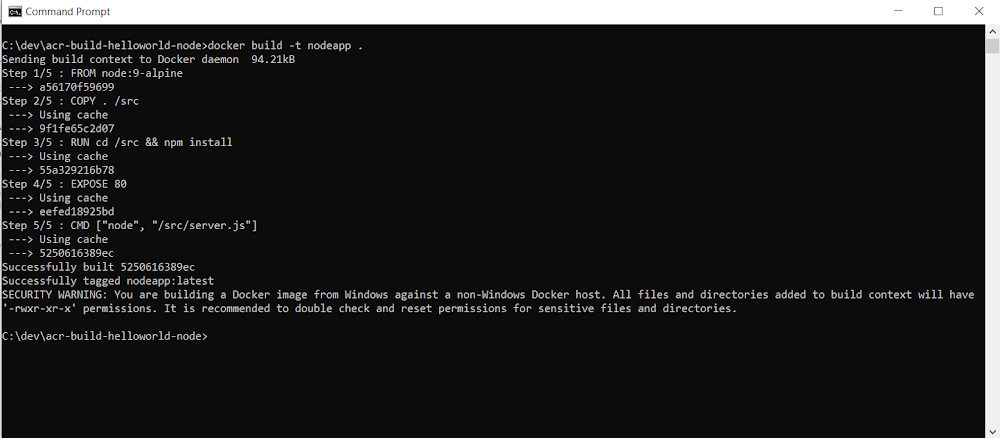
then we can run the image:
docker run -p 8888:80 nodeapp

for testing the image locally, because we are using Docker Toolbox, we need the IP to request. It is in the Docker Toolbox command:

As we have set the port to 8888 we can test the running image locally:

Last we can execute a command to list the containers and see hte latest one
docker container ls

Pushing Container to Azure
Now is the time to connect to the Container Registry where to push our Container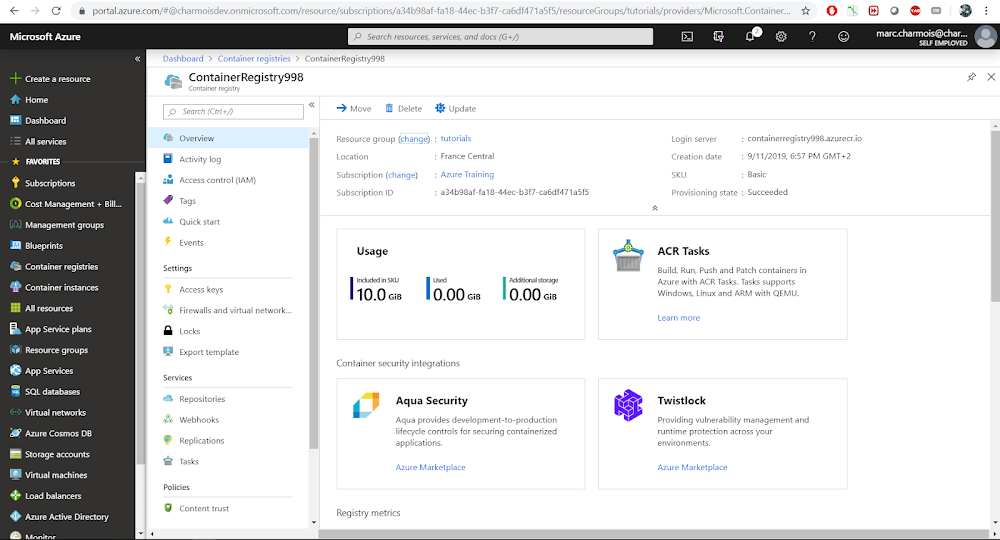
this is the command to do it
docker login <your Container registry name>
You are helped by the Container Registry Quick Start:


If you need the credentials you can find them here:

Now, we have to define the container before pushing it:
docker tag nodeapp <your Container registry name>.azurecr.io/nodeapp

then we start the push
docker push <your Container registry name>.azurecr.io/nodeapp
And it's amazing we are really seeing the container being pushed to Azure piece by piece:


And finally it's done:

And we can see the push result in Azure Container registry:

Deploying the container to a Web App for Containers
Now if we want our container to run and display our API we can, for example, deploy it to an Azure Web App for ContainersFor doing so, navigate to the container and open the latest push features by clicking on the dots and select "Deploy to web app":

Name your container, chose subscription and resource group, select a service plan. I have one for Linux and had to locate it in North Europe because it is one of the region available for the Linux Web App for containers and we can have only one Free Plan for Linux Web App for Containers. So no choice for me.

After having clicked on the create button, we can check the deployment setps:

And finally it's deployed

We can go to the Overview page of the Web App for Containers where our Linux Alpine container with the Node.js API is deployed:

And we can test it works properly by clicking on the Url:

Well done!



No comments:
Post a Comment